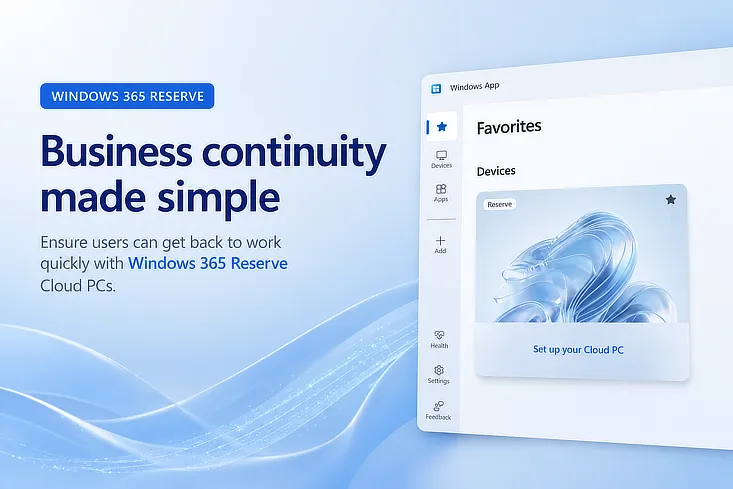
Windows 365 Reserve is meant to be included in a good disaster recovery, business continuity our major incident response strategy. It provides users with a temporary backup Cloud PC which can be used for a maximum of 10 consecutive days, for when their pc is unavailable, infected or simply realize they left their device at home upon arriving at work.
The goal is simple: enable users to get back to work as quickly as possible, while IT restores, repairs, or replaces the primary device. If a user already has a primary Cloud PC, this solution is not for them.
Windows 365 Reserve should not be confused with Windows 365 Cross Region Disaster Recovery. Cross Region DR and DR Plus, protects an existing Cloud PC and its data, while Windows 365 Reserve provides a temporary replacement Cloud PC for users whose primary device is unavailable.
Setting up Windows 365 Reserve Within Intune
From an admin perspective it’s pretty easy to set up. After purchasing the required licenses and assigning them to your tenant, you can create a new provisioning policy in the Intune portal and select Reserve as the license type.
The remaining configuration is familiar to anyone who has deployed Windows 365 before. Settings such as the geography selection and Single Sign-On (SSO) configuration work exactly the same way as they do for regular Windows 365 Cloud PCs,

The next step, as usual, is selecting the image that will be used for the Reserve Cloud PC. A new option available for Windows 365 Reserve is Automatic. When selected, Windows 365 automatically provisions the Cloud PC using the latest available Windows image. This makes it a great choice for business continuity scenarios and means you can “set and forget”.
| Automatic Image Selection provisions the latest Windows 11 with Microsoft 365 Apps. |
Organizations that prefer more control can still select a specific image version, allowing them to standardize the user experience or align the Reserve Cloud PC with their existing Windows 365 environment.

Another new capability in Windows 365 Reserve is integration with Device Preparation Policies. This highly requested feature allows organizations to automatically install certain business applications during the provisioning process. This makes sure users have the apps they need from the moment they sign in. As a result, users can get started immediately without having to manually install applications.

Now assign the policy to a group and you are good to go.
Provision the Reserve Cloud PC as an Admin
To provision Cloud PCs as an admin, open the provisioning policy, you will find a new Cloud PC users tab, in here you can see all users that were granted access to a Reserve Cloud PC.

If you want to provision a Reserve Cloud PC, just select the entry and select Provision.

At this point you have a working Reserve setup, but users don’t have the permissions to provision their own Reserve Cloud PC, only an admin currently has this capability.
Let Users Provision their own Reserve Cloud PC
One of the new and powerful features of Windows 365 Reserve is the ability for users to provision their own Reserve Cloud PC. This self service provisioning capability removes the need to contact IT, allowing users to quickly be up and running again when their primary device becomes unavailable.
Before users can take advantage of this feature, administrators must create an additional policy to enable and configure self service provisioning.
Navigate to Cloud PC settings, and create a new Windows App settings policy.

Within this policy, you’ll find a new setting that allows users to initiate the provisioning of their own Reserve Cloud PC. Simply enable the setting and assign the policy to the appropriate user group.
This flexibility allows you to choose different experiences for different types of users. For example, you might allow management or business critical users to provision a Reserve Cloud PC immediately, while disallowing this for standard users.

After enabling this users will see the Reserver Cloud PC in their Windows App with the ability to click on it to start the provisioning process.

Clicking it will warn them that it’s only to be used for up to 10 days.

When they no longer need the Reserve Cloud PC, they can simply return it from the context menu of the Cloud PC in the Windows App.

| Windows 365 Reserve is designed as a business continuity solution. Unlike traditional Windows 365 Cloud PCs, Reserve Cloud PCs do not support restore points or snapshots. |
Data is not preserved between Reserve Cloud PC requests
If a user provisions a Reserve Cloud PC multiple times throughout the year and returns it after each use, Windows 365 provisions a new Cloud PC every time. Any applications, settings, or data stored locally on the previous Reserve Cloud PC will not be preserved.
To avoid any surprises, users are clearly warned of this behavior before they return their Reserve Cloud PC

The 8 Day Wait Period
Be aware that after assigning the policy, there is an 8 day waiting period before users become eligible to provision a Reserve Cloud PC. As a result, if you create a policy and assign it to all users today, they will not be able to provision a Reserve Cloud PC until the waiting period has elapsed. This clearly shows that the goal of this solution is to be part of a strategic business continuity or disaster recovery plan rather than an ad hoc recovery process.
In my opinion, Microsoft could improve this concept. Consider an organization that assigns Reserve Cloud PC policies to all users. When a new employee joins the company, they are not protected by Windows 365 Reserve until the 8 day waiting period has passed, even if the provisioning policy has been in place for months and even if there are more than enough Reserve licenses available in the tenant.
If a user initiates the provisioning of a Reserve Cloud PC before the 8 days have passed, they will get the following error: “User setup is incomplete, Contact your group owner for help.”

Tracking consumption
Tracking Consumption is easy as well, open the provisioning policy and navigate to the devices tab. In here you can see the individual status of each Reserve Cloud PC and see how many days are remaining for that specific Cloud PC.

This is also visible for an end user, they can open the Windows app, open up the context menu and select “View Details”.

In here it’s visible how much remaining time there is to use the Reserve Cloud PC. I personally would have liked a “9/10” day timer as a label on the Cloud PC card as well, because 10 days is not a long time.

The cost of the license
A last thing to cover is what it costs, it’s currently listed as a yearly commitment with a price per user of EUR 18,72, which isn’t expensive at all. For this money, you can make sure that any user gets up and running in no time, without spending precious time of IT as they don’t need to request, or reprovision a physical device, depending on the reason they provision their Reserve Cloud PC of course.
Let’s wrap up
Overall, Windows 365 Reserve is a great addition to the Windows 365 portfolio. It addresses a common challenge faced by many organizations: how to quickly restore user productivity when a primary device becomes unavailable. In reality I see that companies only start investing in EUC recovery when something has happend, after the fact. I hope that the ease of use of Reserve changes that. While there are still areas where the solution could be improved, such as the 8 day eligibility period for newly assigned users, the overall concept is very easy to implement. For a relatively small investment, organizations can significantly improve their business continuity posture and ensure users can get back to work when the unexpected happens. Best of all, you can start protecting a subset of VIP users, no need to cover the whole company.



Leave a Reply