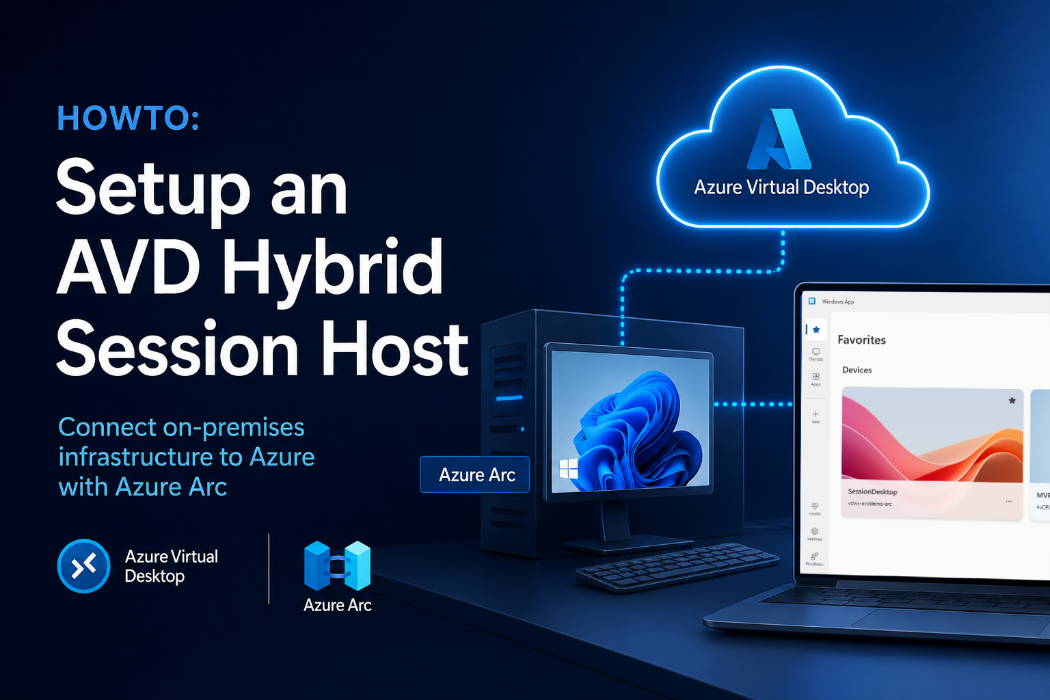
In my previous blog post, I covered what Azure Virtual Desktop Hybrid (AVD Hybrid) is and where it fits in the virtualization landscape. In this article, I’ll walk you through the actual deployment process, showing you how to set it up and connect your on premises VDI to Azure Virtual Desktop. I will deploy a standalone Windows 11 VM, but a server operating system would follow very similar steps.
Create the Virtual Machine
With Azure Virtual Desktop Hybrid, you are responsible for providing and managing the underlying infrastructure. You also need to provision and manage the session hosts yourself.
You can automate this process as much as you want, for example by using templates, scripting, or existing deployment tooling. For this demo environment however, I simply created a new Windows 11 virtual machine on my Hyper-V lab environment.
If you’re curious about the supported operating systems and deployment scenarios, make sure to check out my previous blog post where I covered the supported platforms and architecture in more detail.
| If you are creating a Single session or Multisession Windows Server VM, you don’t need to install the RDS roles, the onboarding scripts will do this automatically. |

Phase 1: Create a Host Pool
Before you can add on premises session hosts to Azure Virtual Desktop Hybrid, you first need to create a Host Pool in the Azure portal.
I strongly recommend separating your AVD Hybrid environment from existing cloud native AVD deployments. In practice, this means using a dedicated Resource Group and a separate Host Pool for your hybrid session hosts instead of mixing them with your existing Azure based hosts.
Separating these environments simplifies makes management, troubleshooting, RBAC delegation, and future migrations much easier. It also helps avoid confusion when managing different deployment types and operational models. If you plan on deploying Windows Server Multisession, make sure to select pooled during Host Pool creation.
| Microsoft currently states that Azure Virtual Desktop Hybrid should be deployed by using a validation Host Pool. During testing, I however successfully deployed the hosts without enabling the validation environment option |

Because we won’t be deploying session hosts in Azure itself, you can safely skip the step where you add virtual machines during the Host Pool creation process. We will add VMs later on.

Do make sure however that you assign the Host Pool to a Workspace, otherwise users will not be able to discover or connect to their published desktops and applications. You can either use an existing Workspace or, preferably, create a dedicated Workspace for your Azure Virtual Desktop Hybrid environment.

Before completing the Host Pool deployment, make sure to create or assign a Managed Identity. This step is important. The Managed Identity requires the appropriate permissions on the Arc enabled machine that will be added as session hosts later in the deployment process. In my example I create a new managed identity for this Host Pool.

The Host Pool is now deployed and we’re ready to continue with the next steps of the Azure Virtual Desktop Hybrid deployment.

Grant read access to the Arc objects.
Next, get the Object ID of the Host Pool Managed Identity you just created, or use an existing Managed Identity if preferred, and grant it Reader access on either the subscription or the Resource Group that contains your Arc enabled servers.
This is a mandatory step. Arc enabled servers for which the Managed Identity does not have sufficient permissions cannot be added to the Azure Virtual Desktop Host Pool.
You can retrieve the Object ID and configure the required permissions directly from the Host Pool settings in the Azure portal.

Now enable Single Sign On – SSO
Now that the Host Pool is ready, make sure to enable Single Sign On (SSO) in the Session Hosts RDP Properties.
Enabling SSO provides a much smoother authentication experience for end users, allowing them to seamlessly authenticate to their Azure Virtual Desktop session without being prompted multiple times for credentials, this is recommended even when users are connecting from a device outside your tenant. Azure Virtual Desktop uses the credentials from the Windows App (desktop or web) to authenticate the session providing a seamless use experience.
| If your machines are Hybrid joined, make sure to also sync your identities to Entra. |

Phase 2: Onboard the Machine into Azure Arc
Navigate to Azure Arc and start the onboarding process for your existing on-prem machines. During this process, Azure generates an onboarding script which you can run directly on the target machine to register it as an Arc enabled machine.
Be careful when deploying Azure Arc. While enabling it is relatively simple, there are many best practices to consider around governance, security, resource organization, identity, and connectivity.
For a deeper dive into Azure Arc best practices, I highly recommend checking out the blog series by Wim Matthyssen, who covers the Azure Arc in great detail.

Fill in all the required information and make sure to deploy the Azure Arc resources into the correct Resource Group where you previously granted the Managed Identity reader access.

Now download the generated script and copy it to the machine you want to onboard into Azure Arc. Make sure to run the script with a local administrator.
You can also reuse the script to onboard multiple servers at once, no need to regenerate the script each time. Keep in mind however that all servers onboarded with the same script will automatically be deployed into the same Azure subscription, Resource Group, and Azure region that were selected during the onboarding wizard.

The onboarding script automatically performs the following actions:
- Downloads the Azure Arc agent from Microsoft
- Installs the Azure Arc agent on the machine
- Creates the Azure Arc enabled server resource in Azure
- Associates the local machine with the Azure Arc resource
When running the script it will open up a browser window, make sure to authenticate with a user that has at least the Azure Connected Machine Onboarding RBAC permission in your Azure environment on the selected Resource Group.

Once the script has completed successfully. Azure Arc displays the server in the Azure portal as an Arc enabled machine.

Phase 3: Onboard the Machine into the Host Pool
The next step is to onboard the Arc enabled machine into the Azure Virtual Desktop Host Pool. You do this by installing the CloudDeviceExtension extension on the Azure Arc enabled machine. The extension registers the machine as an AVD session host and establishing the required communication with the Azure Virtual Desktop backend.
# Modules$modules = @('Az.Accounts','Az.DesktopVirtualization','Az.ConnectedMachine')foreach ($m in $modules) { if (-not (Get-Module -ListAvailable -Name $m)) { Install-Module $m -Scope CurrentUser -Repository PSGallery -Force -AllowClobber -ErrorAction Stop } ; Import-Module $m -ErrorAction Stop }# Parameters$SubscriptionId = "<SUB_ID>"$HostPoolRG = "<HOSTPOOL_RESOURCEGROUP>"$HostPoolName = "<HOSTPOOL_NAME>"$ArcRG = "<ARC_RESOURCEGROUP>"$ArcMachine = $env:COMPUTERNAME$ArcRegion = "<region>"$ExtType = "CloudDeviceExtension"$ExtPublisher = "Microsoft.AzureVirtualDesktop"$ExtName = "AzureVirtualDesktop"# AuthConnect-AzAccount -ErrorAction Stop | Out-NullSelect-AzSubscription -SubscriptionId $SubscriptionId -ErrorAction Stop# Registration token (~24 hours)$expiresUtc = (Get-Date).ToUniversalTime().AddHours(24).ToString("yyyy-MM-ddTHH:mm:ss.fffffffZ")$regInfo = New-AzWvdRegistrationInfo -ResourceGroupName $HostPoolRG -HostPoolName $HostPoolName -ExpirationTime $expiresUtc$token = $regInfo.Token# Settings$settings = @{ isCloudDevice = $false }$protectedSettings = @{ registrationToken = $token }# Install extensionNew-AzConnectedMachineExtension -Name $ExtName -ResourceGroupName $ArcRG -MachineName $ArcMachine -Location $ArcRegion -Publisher $ExtPublisher -ExtensionType $ExtType -Setting $settings -ProtectedSetting $protectedSettings -ErrorAction Stop
Fill in all the variables and run the script on the machine you plan to onboard. During execution, Azure prompts you to authenticate again.
Make sure to sign in with an account that has sufficient permissions to add session hosts to the Azure Virtual Desktop Host Pool. At a minimum, the account should have the Desktop Virtualization Contributor RBAC role assigned on the Resource Group.

The deployment can take several minutes to complete but if all steps were configured correctly, the deployment should eventually complete successfully.

After a few minutes, Azure Virtual Desktop registers the machine as an available Session Host in the Host Pool. It’s now available and known within the AVD control plane.

Make sure to give the machine enough time to fully update and configure the required agent. so wait until the Session Host health state changes to “Available” in the Azure Virtual Desktop portal.
Note that the Total Sessions already shows 1, this is the locally connected user that is used to run the onboarding scripts.

Check out the Arc VM Extension
If you now look at the installed Extensions on the Arc machine, you will notice that the CloudDeviceExtension is visible there as well.
At the moment, administrators still need to deploy this extension through PowerShell. Microsoft will likely add GUI based deployment support later on.

You can now start assigning users and granting access to the environment.
Grant Access to users
Navigate to the AVD Host Pool and open the linked Application Group. From there, you can assign users or groups access to the published desktop or RemoteApps.
User assignment works exactly the same as in a traditional AVD deployment, so there are no additional configuration steps required specifically for AVD Hybrid.

Connecting to the Arc Enabled Session Host
Connecting to an Arc enabled Session Host works exactly the same as with a regular AVD and Windows 365. Simply use the Windows App (both installable client and web are supported) to access your resources.
If the desktop or RemoteApp is not showing up immediately, refresh the feed by using the refresh button in the upper right corner of the application. After refreshing, the assigned resources should become visible.

The initial deployment is now complete.
Troubleshooting: Enable Remote Desktop
One issue I did encounter during testing was that I was unable to sign in to the session host after deployment.
In my case, the solution was to enable Remote Desktop in the settings of the Arc enabled machine. Per my information, this should be enabled automatically by the CloudDeviceExtension during enrollment.
Once I enabled RDP, I could successfully connect to the Session Host.

Supported AVD Features
As described in my previous blog post, features related to power management like shutdown and Start VM on connect are not supported. This makes sense because Microsoft has no integration with your local hypervisor.
In my opinion however, some of these features could or should be implemented to work on agent level, in-guest, instead of relying entirely on hypervisor level integrations.
Other commonly used options like drain mode, sending messages or logging out users do work and are supported.


Wrapping up
That’s it, you’ve now successfully deployed your first Azure Virtual Desktop Hybrid Host Pool connected to an Azure Arc enabled on premises machine.
Personally, I think this is a very cool technology that opens the door to several interesting use cases, such as low latency or GPU accelerated workloads or even replacing traditional VPN solutions to provide remote access to users or acts as a Privileged Access Workstation to admins.
Microsoft clearly positions AVD Hybrid as an important bridge between traditional on premises virtualization and Cloud Native management. You can even modernize your existing legacy Remote Desktop Services setup and convert them to AVD Hybrid without requiring a redeployment. This lets you leverage modern authentication and Conditional Access policies.
Leave a Reply