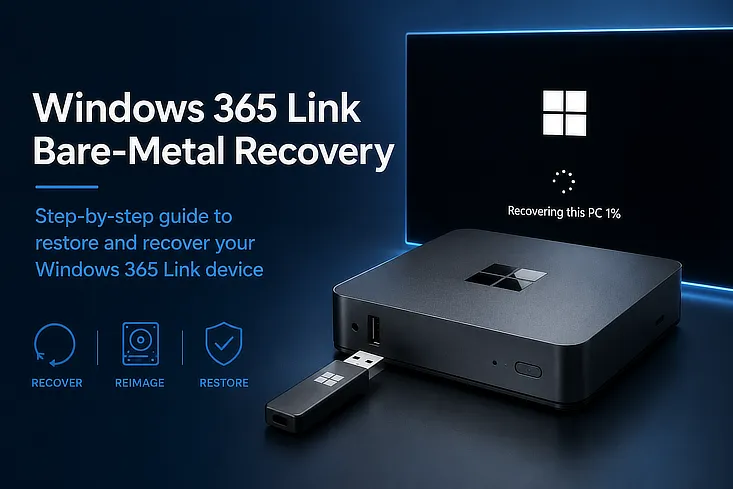
Hardware failures can happen, but they do not have to leave your Windows 365 Link device bricked. Microsoft provides a bare-metal recovery option that allows you to restore the device and return it to a working state by reimaging the device completely.
In this guide, you’ll learn how to download the official Windows 365 Link recovery image, create a bootable USB drive, boot into the Windows Recovery Environment (WinRE), and restore your device using Microsoft’s Bare Metal Recovery process.
What Is Windows 365 Link Bare-Metal Recovery?
Bare-metal recovery (BMR) restores a Windows 365 Link device by reimaging it with the official factory recovery image available from Microsoft. It is typically used as a last resort when the device no longer boots or when the built-in reset options are unavailable or fail to resolve the issue.
Until recently, Microsoft did not offer a bare-metal recovery option for Windows 365 Link. If a device became unusable, it generally had to be returned under warranty and replaced.
Prerequisites
There are only a few prerequisites for following this guide. You’ll need physical access to the Windows 365 Link device and a USB flash drive. I used a 32 GB USB drive, but a smaller one may also work, provided it has enough capacity to store the recovery image. The recovery image that I downloaded, for this blog post, was 5.3 GB in size.
When to do this?
Bare Metal Recovery should only be used as a last resort to recover a Windows 365 Link device. If the device is still operational and you simply want to reset it, use the built-in reset functionality available through Intune instead.
A typical scenario where Bare Metal Recovery is required is when the device fails to boot and displays the following error message:
“Couldn’t find a bootable operating system. Check the Boot configuration to try to fix this.”
If you encounter this error, follow the steps in this guide to restore your Windows 365 Link device to a working state.

| As a funny side note, the link mentioned in the Boot Error Screen doesn’t lead to anywhere. |
Accessing the Recovery Environment
If Windows 365 Link detects a boot issue, it automatically enters the UEFI. However, if your device is functioning normally and you want to perform a Bare Metal Recovery, you can manually enter the UEFI by interrupting the boot process at least two times.
To do this, disconnect the power while the device is booting, then repeat the process a second time. On the next boot, Windows 365 Link will automatically enter the UEFI, allowing you to begin the Bare Metal Recovery process.
Download the Windows 365 Link Recovery Image
The Windows 365 Link recovery images are hosted alongside the Surface recovery images but aren’t available through the “Surface Recovery Image”-Download page.
Instead, download the recovery image from the Microsoft Learn documentation. If your preferred language is available in more than one recovery image package, you can download either one, as the recovery images are identical regardless of the package you choose.
Create the Bootable Recovery USB Drive
Once you downloaded the recovery image it’s time to create a bootable USB drive. Windows doesn’t allow you to simply copy the recovery image to a USB drive. Instead, you first need to create bootable recovery media using the built-in Recovery Drive tool before copying the Windows 365 Link recovery files.
Connect the drive to your computer and open the “Recovery Drive” tool.

Step 1: Prepare the USB drive
The Recovery Drive tool will erase and format the USB drive before creating the recovery media. On the first screen, clear the Back up system files to the recovery drive checkbox, as this option isn’t required for Windows 365 Link.

The tool will scan for connected USB drives. Select the USB drive you want to use, then click Next. Confirm that all existing data on the drive will be erased, and click Create to begin the process.

Step 2: Write the Recovery Image
After Recovery Drive formats the USB drive, we can continue to the next step. Writing the recovery image to the drive.
Just copy all the content of the downloaded zip file to the USB drive and replace all files in the destination with the new files.

Once the recovery image has been copied, safely eject the USB drive and connect it to your Windows 365 Link device.
| If you insert the USB drive before entering the Recovery Environment, Windows 365 Link will just boot as if nothing happened. This is because it is actually booting from the USB drive instead of the internal system. |
Step 3: Start the Windows 365 Link Device from USB
Make sure the device has entered the Windows 365 Link UEFI before continuing. If it hasn’t, disconnect the USB drive and restart the process by interrupting the boot sequence twice. The device should then boot into the UEFI.

Head to Boot Configuration and make sure “Enable Boot from USB devices” is enabled (if it’s not already) and now drag “USB Storage” to the first place in the boot order list.

Head to Exit and press Restart now to reboot the device with its new configuration.

Step 4: Boot into WinRE
The device will now boot into the Windows Recovery Environment. Select your preferred language, choose the appropriate keyboard layout, and then select “Recover from a drive“.

Although WinRE also provides options such as Startup Repair, these didn’t successfully recover the device during my testing. Recover from a drive was the only recovery method that successfully restored the device.

After selecting Recover from a drive, choose your preferred wipe option. Both options are fine, Just remove my files is sufficient in my opinion, as Windows 365 Link doesn’t store any data locally.

As a last step, confirm.

Windows now begins the recovery process and reinstalls the operating system from the recovery image.

Complete the Windows 365 Link Setup
Your Windows 365 Link device has now been successfully restored with a fresh installation of its operating system. Simply follow the on-screen setup instructions to enroll the device into your Microsoft Entra ID and Microsoft Intune environment. Once enrollment is complete, the device will be ready for use again.
If you’re new to Windows 365 Link, check out my complete Windows 365 Link deployment guide.

Wrapping up
Bare Metal Recovery provides a reliable way to restore a Windows 365 Link device when it can no longer boot or when the built-in reset options are no longer available. While it’s not something you’ll use every day, it’s an essential recovery option to have (finally) available when hardware or software issues leave a device unusable.
The recovery process is fairly straightforward once you have the recovery image and USB drive prepared. In just a few steps, you can restore the device to a factory state and re-enroll it into Microsoft Entra ID and Intune.
Hopefully, this guide has helped you understand when to use Bare Metal Recovery and how to perform it successfully. If you have any questions or experiences to share, feel free to leave a comment below or reach out to me on LinkedIn. Although hopefully you’ll never need this procedure, it’s reassuring to know there’s finally a supported way to recover a Windows 365 Link device without sending it back to Microsoft.



Leave a Reply